
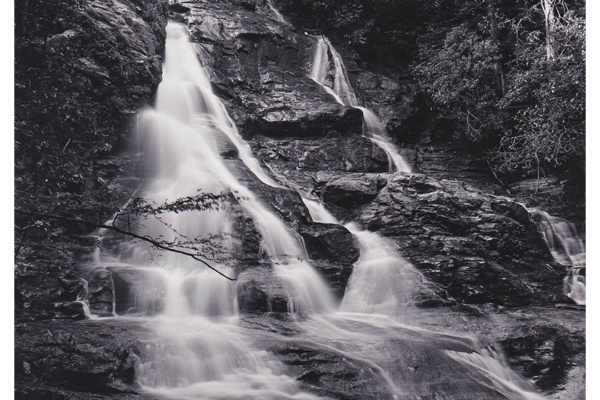
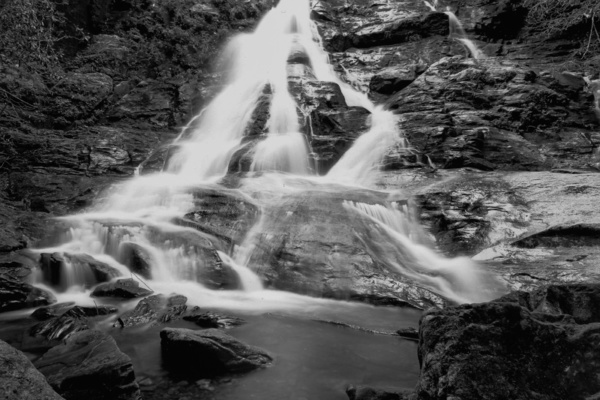
I had an interesting 5×12 image that is not very sharp due to wind that seemed to look better with toning. It made me wonder if the natural softness of salt printing would also enhance it so I decided to pull out the Alt Box of chemicals and give it a try.
I coated HPR with the salt kit I got from Bostic and Sullivan and did a couple of 4×5 test prints. But this time I added Gold toner into the process to shift the color from the orange brown tones back to a warm gray. The Gold toner is likely to help preserve the image too more so than a straight salt image. It doesn’t seem to matter if you tone before or after fixing but I think I might prefer after fixing and giving a second fixer bath.
I ordered the Gold toner as a kit from B&S. You get 500ml Gold Chloride and 500ml Amonium Thisulfate. You mix 50/50 in 1 Liter of water. You can reuse and replenish this toner bath so there is no waste. Instructions recommend replenishing about 5ml per 8×10 print.
The exposure time for this image under my UV box was about 16 minutes. I had some HPR paper pilling issues during coating so have some spots. I think I will try the Bergger paper again for the final print. And maybe even sizing. Image below shows the workflow and color shift.
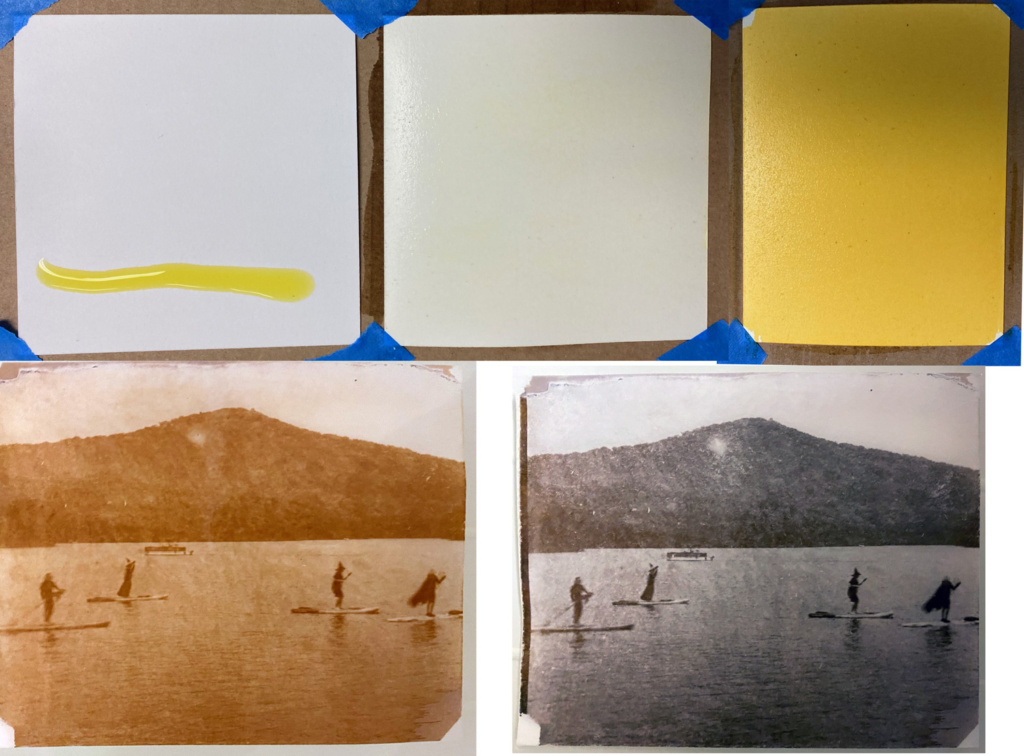
Workflow
- Coat paper with 35 drops of Salt sensitizer + Potassium Dichromate (12 drops for test prints)- let dry
- Coat paper with 35 drops of Silver Nitrate – let dry overnight
- Expose image under UV box
- Wash in warm plain water in a tray to clear the image – turns orange when wet
- Fix with plain hypo fixer 5 minutes
- Wash for 30 minutes
- Tone with gold toner
- Wash for 30 minutes
- Fix again
- Final Wash 30minites
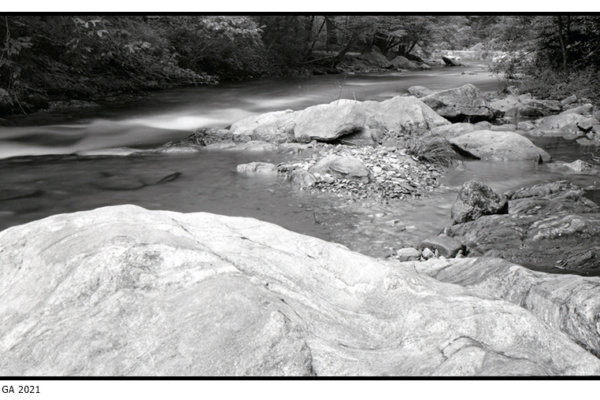
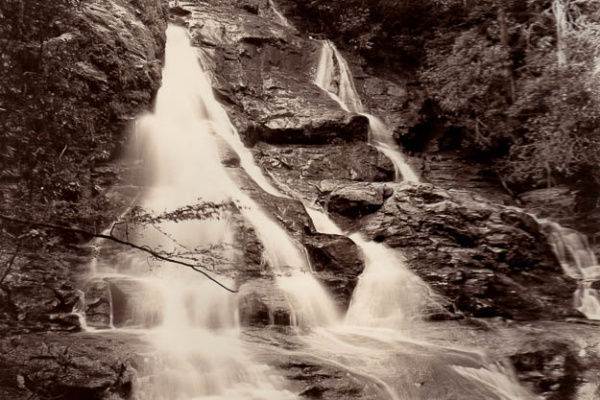
 High Shoals Falls
 First outing with Chamonix 5×12 and Shimoda Backpack
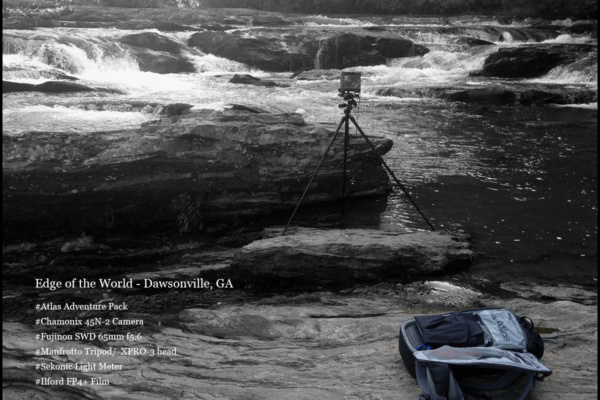
 Atlas Adventure Backpack